|
When planning for any big trip, you should do a lot of research. But that can sometimes become too stressful going to all the different website's, blogs, and youtube channels to find. I have compiled all the information that I would recommend into one place to make things a little easier. There are a few things that you should do and get before leaving on your trip which will relieve a lot of the stress that comes with traveling to another country. I’ve attached links to all the places that we purchased ours from in the sub-titles.
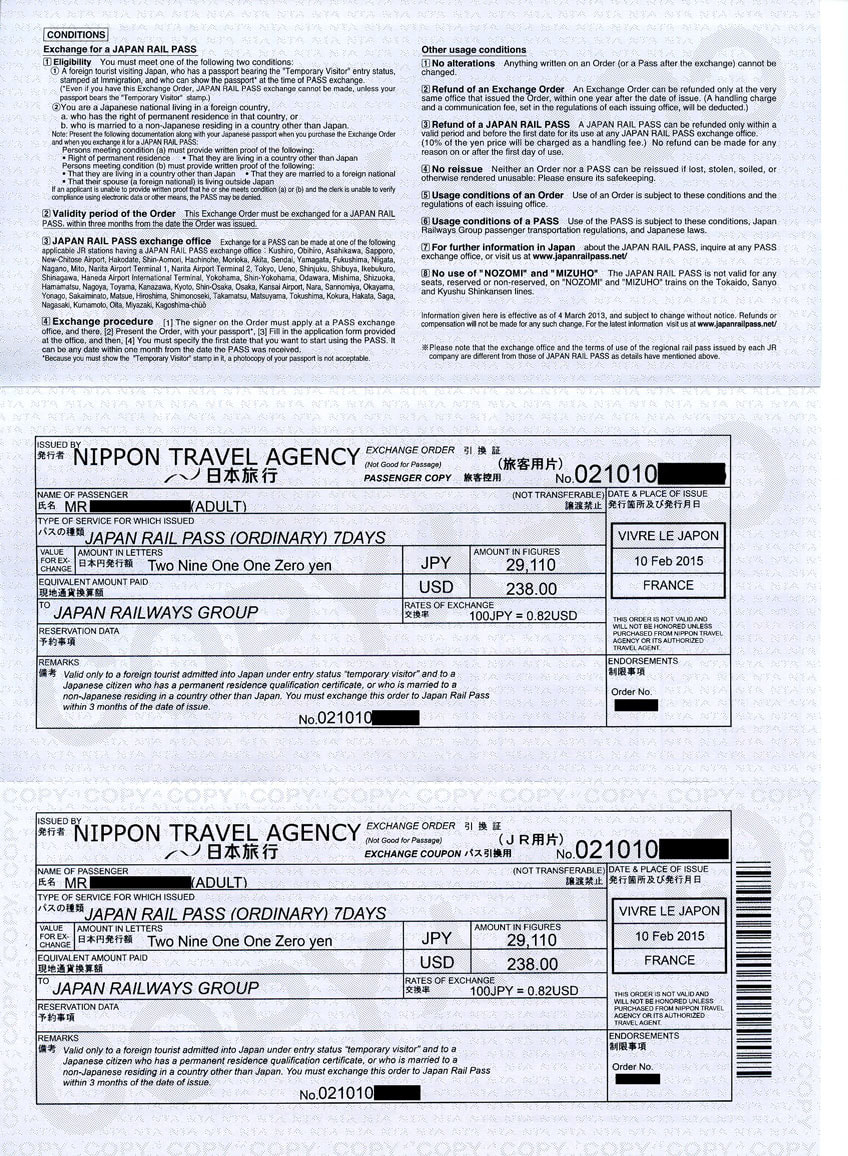
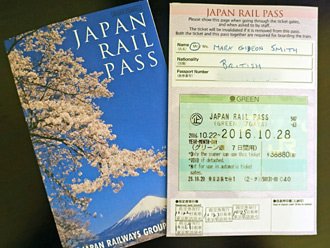
JR exchange orders: If you plan on traveling to different parts of Japan, this is a must. We planned on going to Osaka, Kobe, Kyoto, Nara, and Tokyo. These passes are available in 7 days, 14 days, and 21 days. The website that sells the Pasmo cards also carries them, so it would probably be more convenient to get it from there because the prices are the same. You can choose either the Green first class tickets or the ordinary passes. What is the difference between the two? The 'Green Pass' entitles you to travel in the 'Green Car', the equivalent of our 1st class, on all Shinkansens and certain fast lines. The Green Japan Rail Pass is not often used by foreign travelers but, considering the comfort it offers, space, the hot towel and even free drinks you receive on some routes, it is a good value for the money. Buying the Green Japan Rail Pass is a good idea if you are planning on traveling during busy times (May, August, and September) because, in addition to the fact that there is more space allocated to each traveler, the Green cars are generally less busy giving you more of a chance of reserving a seat. One very important thing about the exchange order is to make sure that your name is exactly how it shows on your passport. When I purchased them originally I forgot to put my fiancé’s name, now husband, on the other pass. So we had 2 passes both with my name (Ms. Jamie Saranghilo and Mr. Jamie Saranghilo). Luckily, we had more than enough time to exchange our passes with the company we purchased them from. The downside is that you have to purchase the new ones separately, then return the bad one stating that it is an exchange and return it with your own money. I was lucky enough that a friend of mine was able to do it through their work. Otherwise, it would have cost me almost $100 to send it back. So be very careful when purchasing the exchange orders. Please note these aren’t the actual passes (shown in the picture on the left below). You need to go to a JR office and exchange them for the actual Japan Rail Pass (shown in the picture on the right below). I’ll go into more detail in the next section
Before we left we purchased about 51,000 yen from Wells Fargo bank, which was approximately $500 USD. The first branch I went to didn’t carry JPY, but I asked if there were any branches nearby that did and they were able to confirm that someone had the amount I was looking for before I headed over there. Since I have an account with them they were able to take it out of my account and give me the money right away. Most banks locations will require you to order the money, but there are a few bank branches that will carry the foreign currency on hand. I’d recommend giving them a call before you head over. Most bank branches near airports will carry a wide variety of foreign currency. Try contacting those if one near you isn’t available. For the 2 weeks that we were in Japan, we had approximately ¥82,000, but also used our card as much as possible. The last five days we decided to withdraw an additional ¥20,000 to be on the safe side. Will we go through all the cash we brought? Probably not. Did we go through all of the cash? Technically yes, cause we decided to pay for everything in cash till we ran out. The rest of our JPY was spent on duty-free alcohol and airport Japanese food.
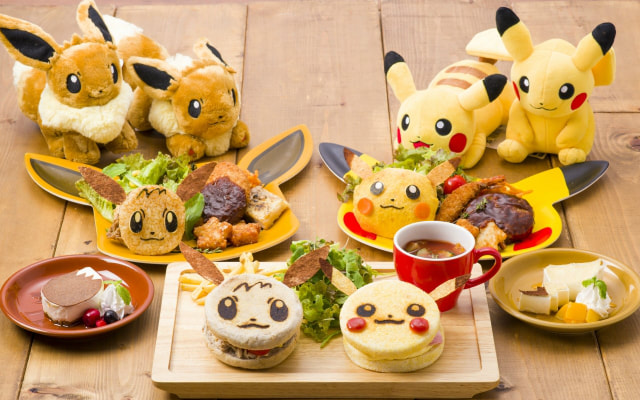
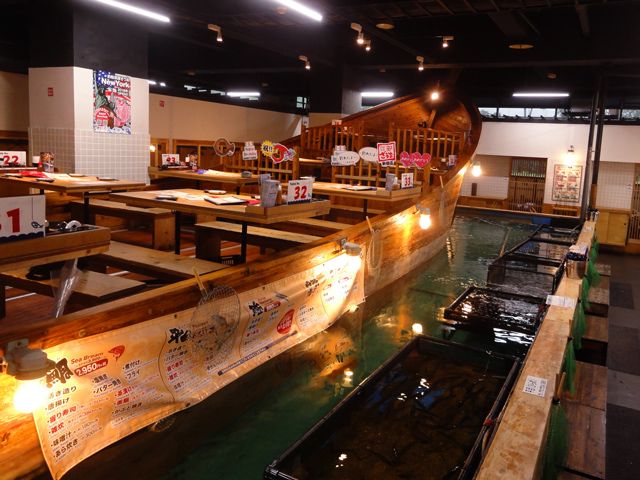
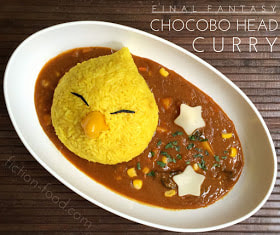
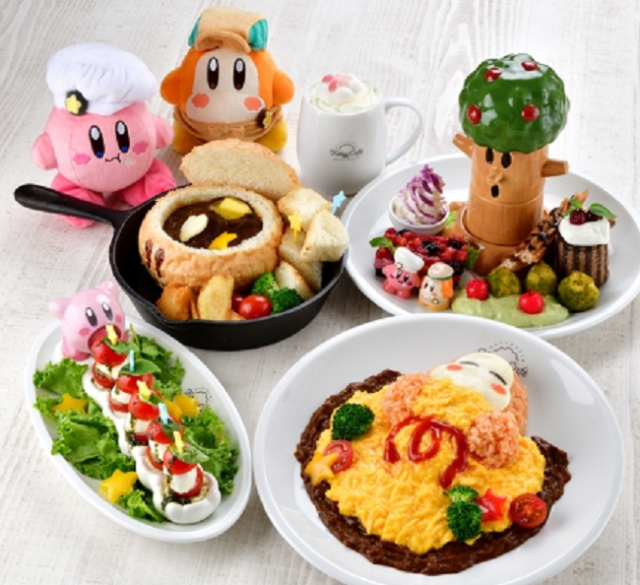
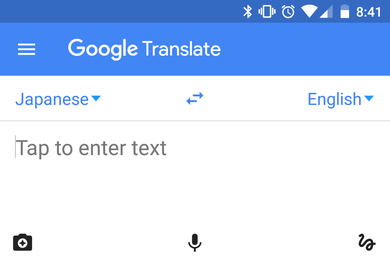 Download the Google Translate app: Most Japanese people will know how to speak English, however, they are too shy to use it, in fear that they will butcher the language. So whether you have the time to practice the phrases above having this app on hand definitely comes in handy. It gives you different ways to get around in Japanese. 1. You can type it in English, translate to Japanese, and have it speak for you. 2. Take a photo, highlight the Japanese text, and it will translate the text (very handy for Japanese medicine, signs, or packaging). 3. Tap the conversation button and you can have a live conversation in English and Japanese with the app translating for you (just make sure to tap the language before the person speaks). Label restaurants or places you want to do or see. Use your google maps to label the restaurants you want to go to, places you want to see, and places you will be staying at. It makes it very easy to access this information if it is already saved under the "Your Places" tab in Google Maps. I would recommend saving it to whoever will be getting the SIM card for the trip. Here is a link for a few that I researched on my own that we'd recommend. Bold = able to try it. (*) = we highly recommend it. Making reservations or buying tickets: If you are a nerd like me, you'd want to check out some places like: The Pokemon Cafe, Miyazaki Ghibli Museum, the Kirby Cafe, Zauo (you can catch your own fish and have the kitchen prepare it anyway you want), and a few other places. It is highly recommended that you do that as soon as possible. These places sell out quickly. We unfortunately weren't able to go to any of the ones that I mentioned earlier but we will definitely go next time. Keep in mind that if they do any kind of performance that it will most likely be in Japanese (i.e. the Final Fantasy Eorzea Cafe), so unless you are fluent you will sitting there with question marks wondering what's so funny. See the links below to go directly to the reservation website. MAKE SURE YOU RESERVE FOR THE CORRECT LOCATION
Recommended things to pack: If you are like me and tend to overpack this list should help you out. Most AirBNB's in Japan will be equipped with a washer inside, but if your's doesn't have one there are laundromats within a 5-10 minute walking distance of where you will be staying. We stayed for 2 weeks in Japan and this is what we brought. Japan packing list for June
Most Japanese accommodations will only have a handful of outlets for you to charge your electronics. Purchase a Multi-port USB charger, so that you can easily charge your USB devices in one area. Also, Japan will use the same outlets that are used in the U.S. minus the grounding prong and at a lower voltage. So there is no need for an adaptor or a converter. A lot of the public bathrooms in Japan will not have paper towels or a hand dryer. So having a handkerchief and/or small hand sanitizer to keep on your person would be a good idea. When we had left for Japan, between the two of us we had 1 large checked rolling luggage, 1 rolling carry on, 1 camelback backpack, and 1 travel computer backpack. If you are able to check in the large luggage, but only pack it a third of the way. We had intended on purchasing a lot of souvenirs for ourselves and other people, underpacking allowed us to bring everything back without having to purchase another suitcase. When we packed to leave, we used the small travel duffle to hold both of our clothes, and both rolling bags were used for items we purchased during our trip. Upon leaving Japan, we checked both rolling bags and boarded the plane with 1 travel duffle and 1 travel computer backpack. Broken-in and comfortable walking shoes are a MUST for your trip to Japan. Japan is very big on walking, biking, and public transportation. You will do at least a minimum of 20,000 steps in 1 day. I have pretty flat feet, but I made sure I found some comfortable shoes with good insoles that are easy to slip on and off. I did pack slippers, and flats for the trip; however, I never used the slippers and the flats I wore for about 6 hours and regretted bringing them. By the end of the trip, aside from I the one time that I wore the flats, I wasn't feeling any of the fatigue from bad support. Both my husband and I have iPhone 7's, but the battery life on our phones have seen better days. Bring 3 Small portable battery packs with charging cables for your phone and to charge the packs (most likely a micro USB cable). We kept our phones on battery saver for the majority of the trip and were able to get at least 2 charges
Tokyo Disneyland: If you plan on going to Disneyland, I would highly recommend staying at one of the hotels close to the park. If you do decide to stay at one of the hotels nearby, I would recommend Hotel Okura Tokyo Bay . It is located right next to the Disney Bayside monorail which is one stop away from DisneySea and 3 away from Disneyland. And compared to the other Disney hotels it is pretty affordable. I was able to find a deal for about $150 per night. As far as getting yourself to Disneyland read my blog about "While in Japan" (Link to come) for more information. Below are a few tips while you plan out your Disneyland trip.
There are many blogs and videos that we watched to prepare us for our travels, but the one that we referenced a lot was Paulo from Tokyo. A filipino guy named Paulo who moved to Japan, and married a Japanese native. His videos are very informative and definitely helped us find a few good food recommendations. Let me know how helpful this was for you or if you have any questions I might be able to answer. Safe travels to Japan
0 Comments
|

AuthorI'm Jamie - a food enthusiast, chef, and blogger. My love for all things food and food science has led me on this journey to becoming a Registered Dietician Nutritionist (RDN). To me, nutrition education means showing and communicating creative and delicious ways to make food healthy. I hope to share these recipes and break the stereotype that healthy food shouldn't taste amazing. ArchivesCategories
All
|


 RSS Feed
